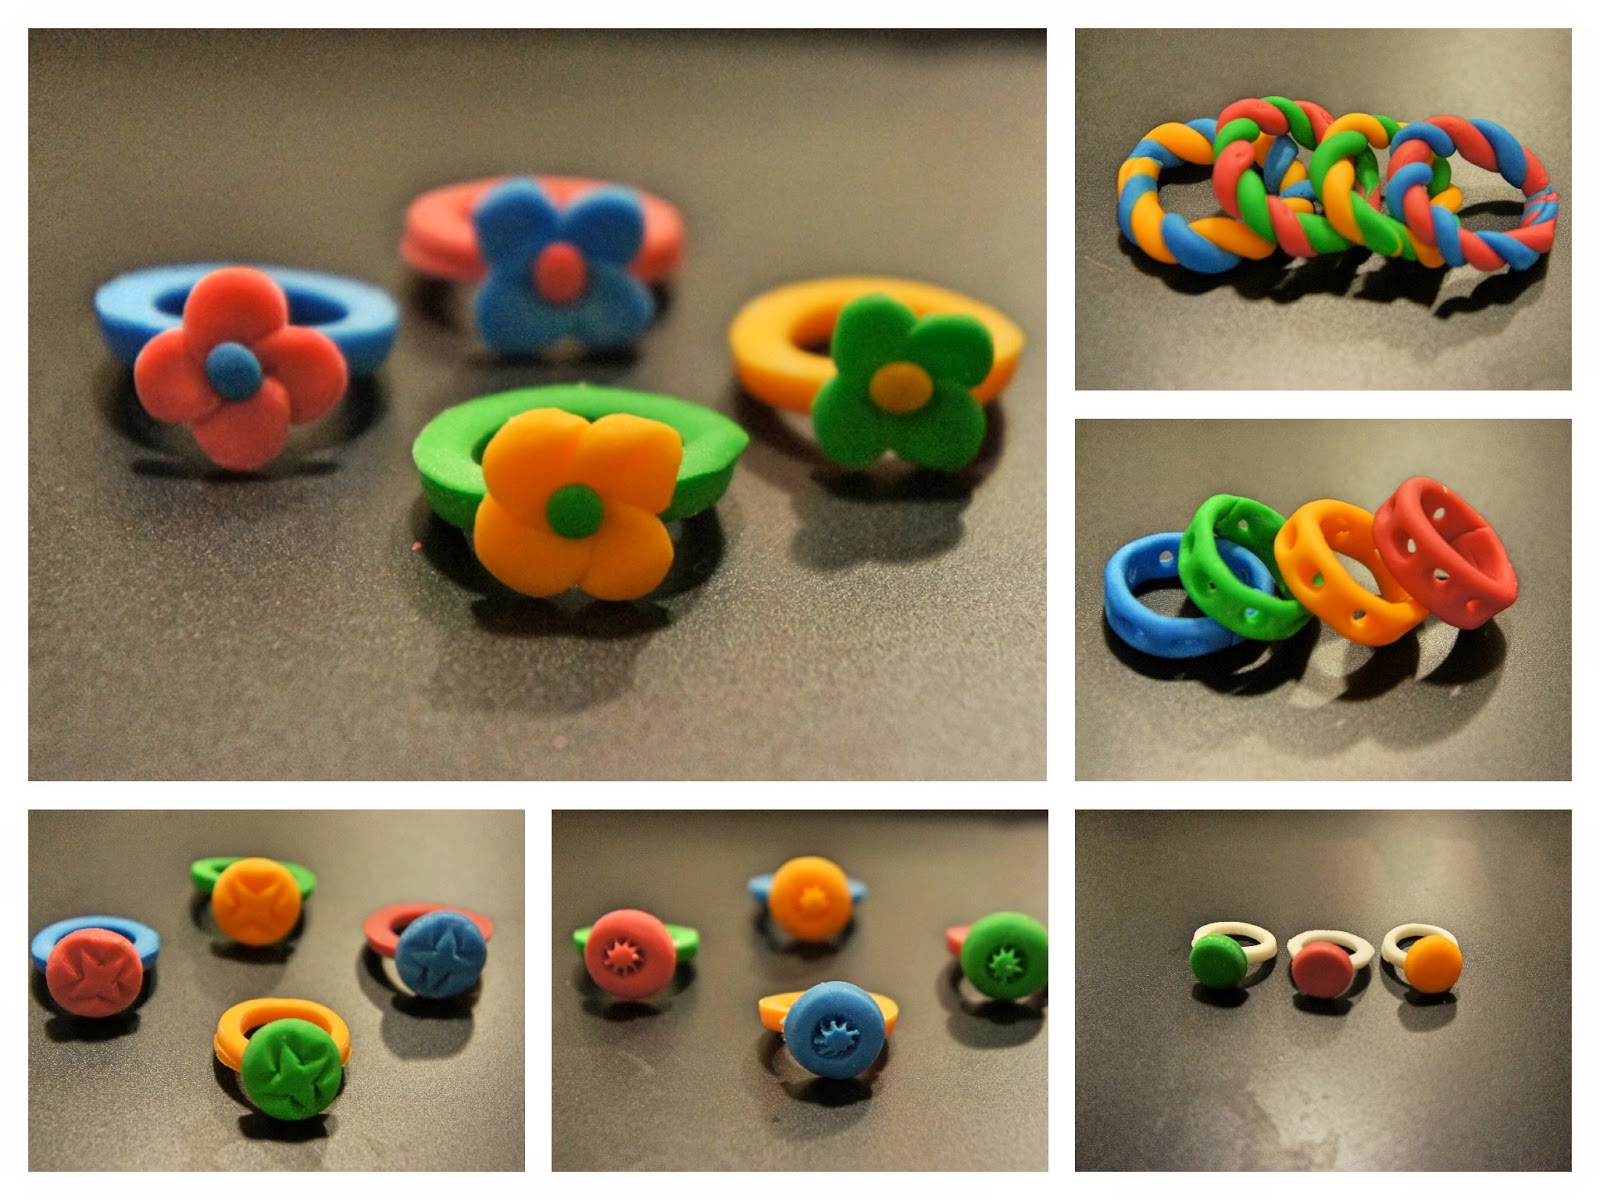
Rings in any format is always special.
In this blog post, I will show you how to make beautiful, colorful and edible rings using the marshmallow fondant and some simple tools.
These rings can be used to decorate engagement and marriage cakes. It can also be used to decorate muffins for special occasions.
The design that I showed here is made using the simple tools available at home, there are endless design possibilities and the limit is up to our imaginations.
Just Homemade: Edible Fondant Rings
Just Homemade: Edible Fondant Rings
Step 1: Items Required


1) Fondant (I used four different colored homemade marshmallow fondant )
2) Icing sugar to sprinkle on working board and dusting the tips.
3) Working board and Rolling Pin
4) Any / Plain Frosting (Small amount)
5) Piping Tips (I used Wilton's 1M,5,12, 22 and 352 tips)
6) Knife and paper towels
Step 2: Basic Ring Making
1) Roll the desired colored fondant into medium thickness
2) With 1M piping tip make few circular shapes in the rolled fondant
3) Using 5 or 12 size piping tip, press and remove the inner circle from the above made circular shapes to form a ring
4) Roll different colors of fondant and cut out as many rings as required. (For each color I made 4 rings)
5) Allow all the cut out rings to dry for at least 24- 48 hours
Note: Dust the piping tips with icing sugar before pressing it into the fondant to avoid the fondant sticking on to the tips.
Step 3: Designing the Rings


Design 1 - Star
1) Use the removed inner circular shape fondant to make this design
2) With the Wilton 352 tip(leaf tip) press on the fondant making a star design
3) Repeat the above step to make as many as required
4) Allow it to dry overnight
Design 2 - Sun
1) Use the removed inner circular shape fondant to make this design
2) With the Wilton 22 tip(star tip) press on the fondant and pull the tip slowly making a sun design
3) Repeat the above step to make as many as required
4) Allow it to dry overnight
Design 3 - Diamond
1) Using fondant make few small cylindrical shapes
2) With the Wilton 1M tip(star tip) press on the fondant cylinder till the bottom
3) Remove the fondant that are sticking outside the tip and slowly remove the diamond shaped fondant from inside the tip
4) Repeat the above step to make as many as required
5) Allow it to dry overnight
Design 4 - Twisted
1) Roll two colored fondant lengthwise separately.
2) Twist both the rolls together to required length
3) Join the ends together to form a ring
4) Allow it to dry overnight
Design 5 - Flower
1) Roll the fondant
2) Using Wilton 12 tip (Circle), press and make small circles
3) Arrange the smaller circles like the petals in the flowers and press it at the middle to stick all the circles together
4) Make a tiny balls using a different color and stick it to the center of the petals
5) Allow it to dry overnight
Design 6 - Bold
1) Roll a thick fondant lengthwise and flat it to a desired thickness
2) Using the Wilton 5 tip (Circle) make small holes through out the strip giving equal spacing between the holes.
3) Cut out the required length and join the ends together to form ring
4) Allow it to dry overnight


